
Focus On: Colors and Materials in ThinkDesign – Part 2
As for the ‘Color’ attribute, ThinkDesign allows you to assign the ‘Material’ properties to solids and surfaces.
These properties are used to define the physical characteristics and appearance of the model. In the design of a detail or an assembly, the material property allows you to:
- define the weight of the solid or assembly
- obtain an FEA simulation, by using the ANSYS plug-in
- create a realistic representation of the detail.
In the first two cases, the material is assigned to the solid. In the third case, you can attach the material to a single face, the skin or some surfaces of the solid.
In ThinkDesign, you can create your material library or use the default one, both accessible from the ‘Rendering Library’.
The ‘PreDefined’ folder includes the following subfolders:
- ‘Default’, containing a set of subfolders with the standard materials, such as metals, alloys, wood and others. Each folder contains materials with diffusive color and types of texture.
- ‘Renderer Library’, containing an extensive set of materials with different finishing and effects for a better rendering (see also ‘Rendering’).
Besides the ‘PreDefined’ folder, you can freely save and sort your materials in another folder, the ‘UserDefined’ library.
You can, for example, organize your folders according to the content, as shown in the pictures below: a folder has been created for the design of machines, and another one is for the different types of packaging.
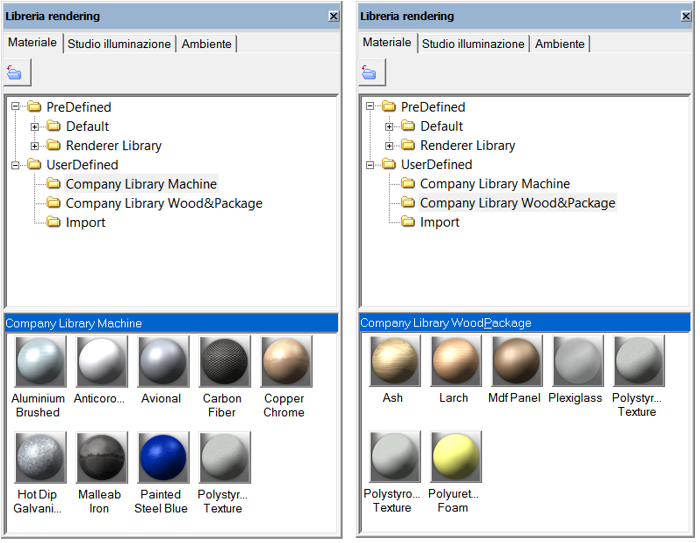
All of your libraries are saved inside the working folder located on your PC. In this way you can easily make copies and share them with other users of the team.
The Copy & Paste commands used on the material default folders and the creation of new materials, allow you to organize a special library and set it as current (‘Set current library’). Thanks to this, during the design phase, you can easily access the materials contained in your current library, directly from the status bar. The benefit is double: on one hand you can quickly choose the desired material, and, on the other hand, you can ensure consistency among the materials applied to your model.
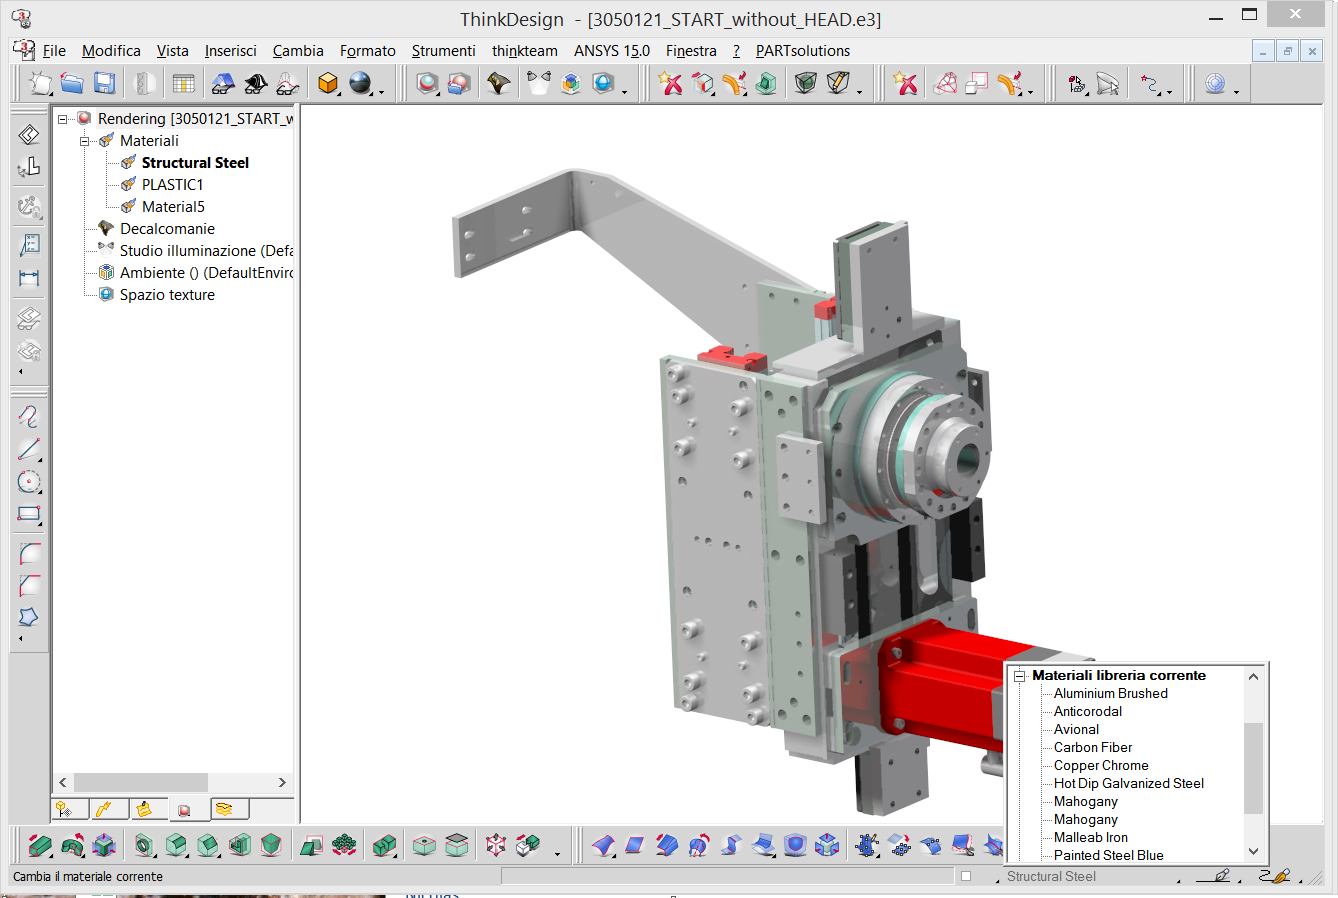
The Rendering tab, in the ‘Model Structure’, shows the list of all the materials used in your current document.
Instead, if you need to assign a material to an assembly, first set the component as current, and then access the list of the materials saved in it. Select the material you want to change and edit its properties.
The main characteristics of a material are the following:
Name: each material has a name that identifies it and allows you to store it in your library.
The name of the material also assures consistency with the materials of the Ansys library for the FEA simulation.
Physical Properties: You can set the density of the material used in the calculation of the weight of the solid and expressed in the current unit of measurement (default gr / mm 3).
The ‘Mass Properties‘ analysis command processes the material information assigned during the weight calculation. This calculation considers the material associated with the solid while it ignores any material associated with the faces.
Visual Properties: the definition of the material includes some view properties. Among them, the following need to be mentioned:
- the texture color, which can be either a diffuse color expressed according to the RGB map, or a bitmap file used as a texture;
- the reflection characteristics;
- the type of transparency;
- the roughness and bump effects (bump mapping);
- the parameters and orientation of the texture mapping.
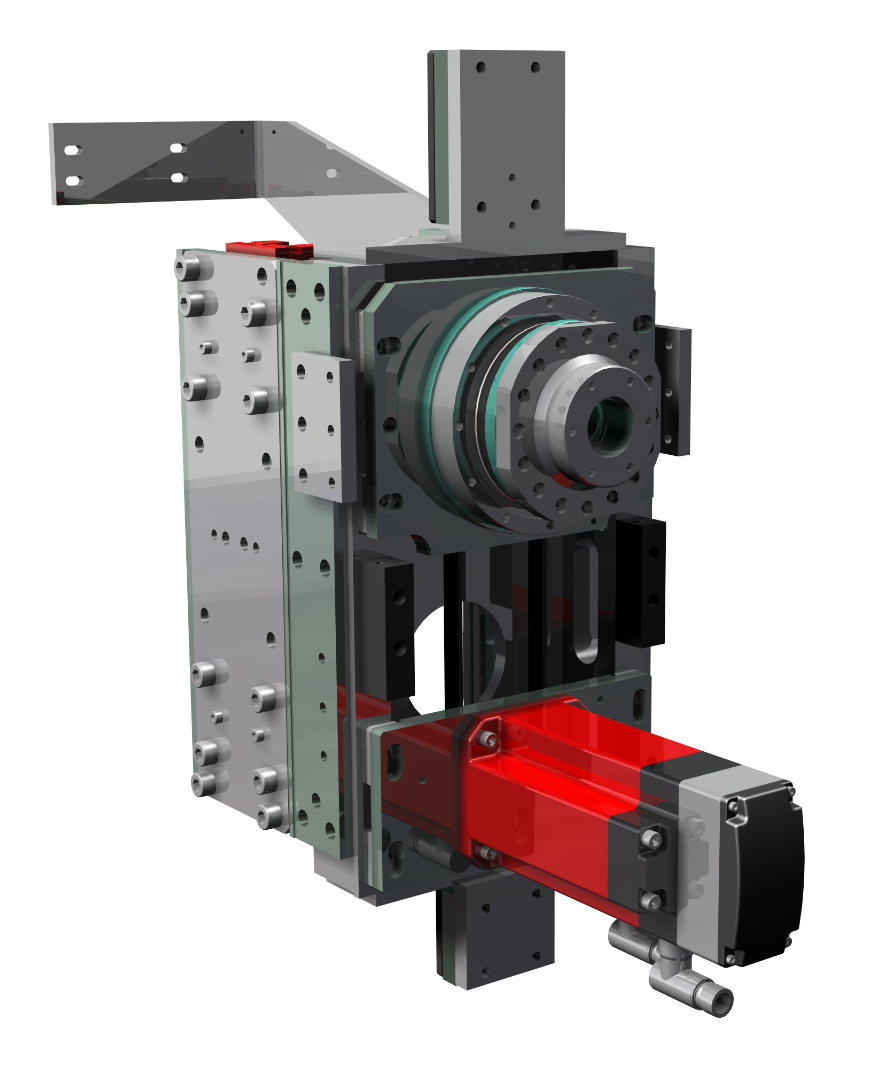
In the graphical representation of the model, by enabling the dynamic rendering mode, ‘High Quality + Materials‘, you can display the basic characteristics. This feature allows you to exploit the visual properties of the material such as the color and texture and insert basic transparency and reflection effects.
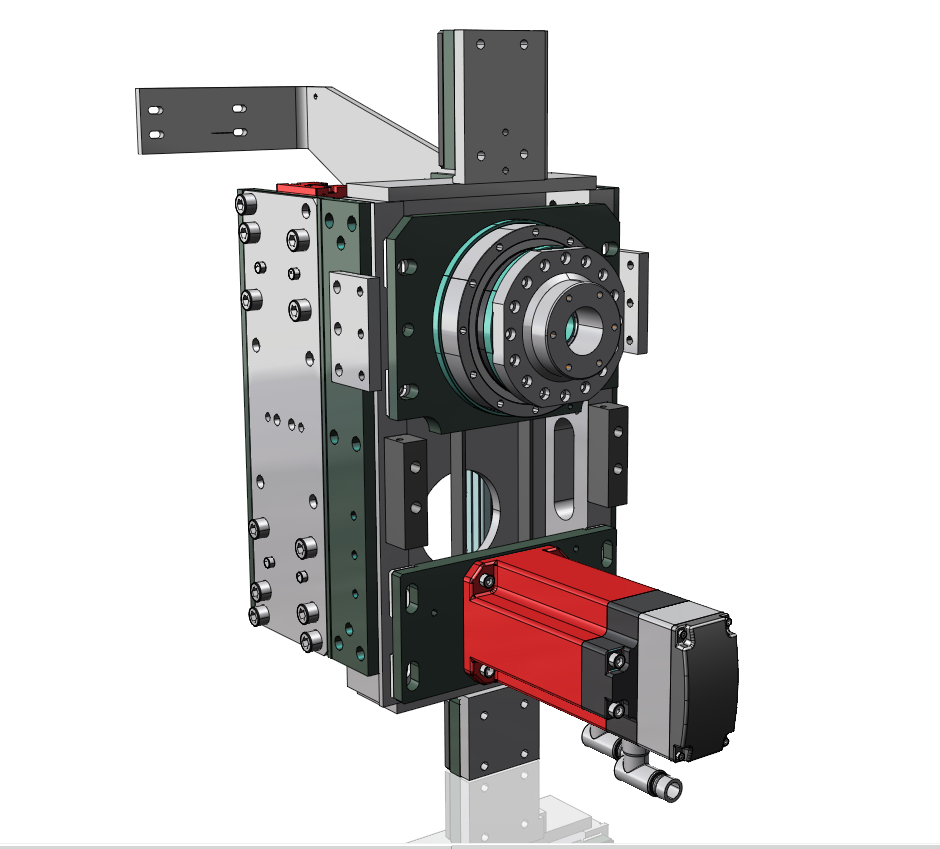
High Quality Shaded View + Materials
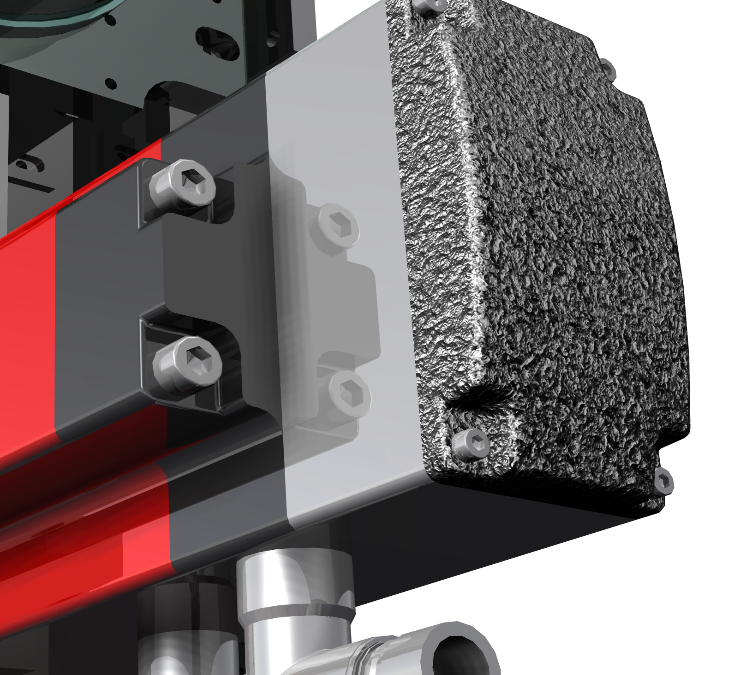
By activating the ‘Ray Tracing‘ and ‘Final Gathering‘ modes, for calculating the ‘Static Rendering’, instead, you can obtain a realistic rendering and exploit further effects of the materials, such as its roughness and bumping. Moreover, shadows and reflections interact with objects and scenery providing a final realistic rendering of high quality.
Ray Tracing
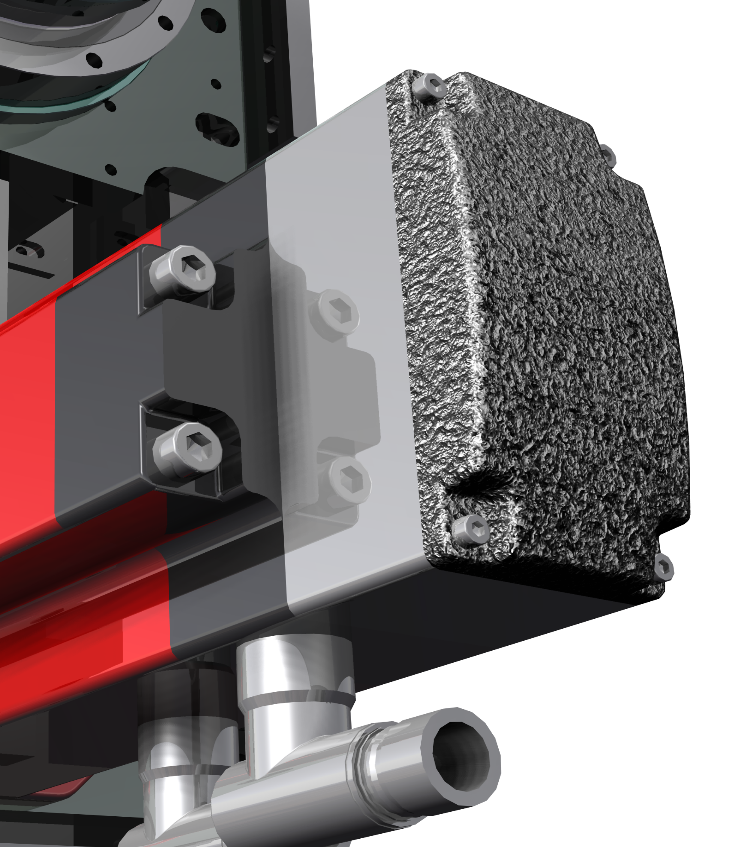
Bump Effect
The possibility to define all the characteristics of the material is a major advantage that makes this feature easy to use. It allows you to standardize and reuse the same materials and to have a single library to support all the phases of the project.
Have a good job and see you with the next issue of this newsletter!